Our customers on Envato can get the updated versions of the theme for lifetime without paying any other fee. There are two ways to update G5Theme items. The first method is to use Envato Market plugin which was included in G5Theme. The second is the upload the theme manually, either via FTP or WordPress. This is the traditional method and this method requires you to download the update-theme files from ThemeForest first.
How To Update Via Envato Market plugin
This is a quick and easy way to make sure that you keep all of your wordpress themes from ThemeForest up-to-date. This plugin help you to install WordPress themes purchased from ThemeForest & CodeCanyon by connecting with the Envato Market API using a secure OAuth personal token
Note: We highly recommend backing up your theme, files and entire database before updating.
Step 1 – Install and activate Envato Market plugin
Step 2 – Navigate to the WordPress Dashboard => click on the Envato Market, then click on Generate a personal token link to create an Envato API token.
Step 3 – Log in your Envato Account, then you will see a window with permission request of the plugin to access via your Envato account. Insert your Token name, check the options you want and click to Agree to the Term and Conditions and choose Create Token button to create your token.
Step 4 – Back to your WordPress installation and insert your Envato API token and choose Save Changes. When your token is saved and validated, the Envato Market plugin was successfully synced to your site and your purchased items will be right in your site.
Step 5 – When there is any update available for these item, a notice will be shown. In addition, you will see the notice on the core WordPress update page in Dashboard -> Updates.
To update Envato item using Envato Market Plugin, you just need to click on Update Available link in the update notice. All you need is waiting for the update to complete. A success notification will be displayed once the theme is updated successfully.
Step 6 – Don’t forget to update the G5Theme-Framework
Manual Update Method
With the Manual Update Method, you can either choose to upload the theme files manually via FTP or WordPress. Before you can update manually, you have to download the theme files from ThemeForest. Continue reading below for instructions on how to download the theme files and how to upload them.
Note: We highly recommend backing up your theme, files and entire database before updating.
How To Download The G5Theme Files From ThemeForest
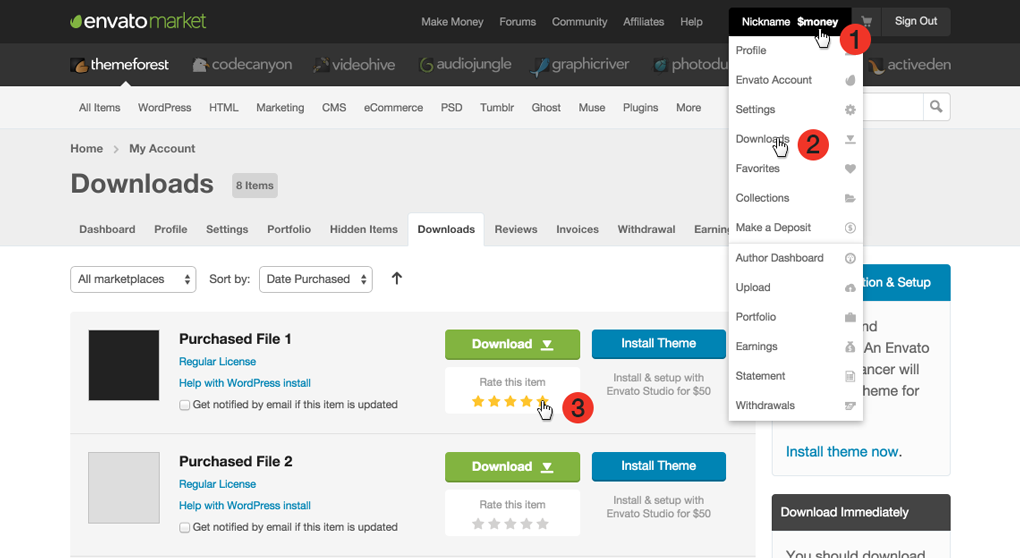
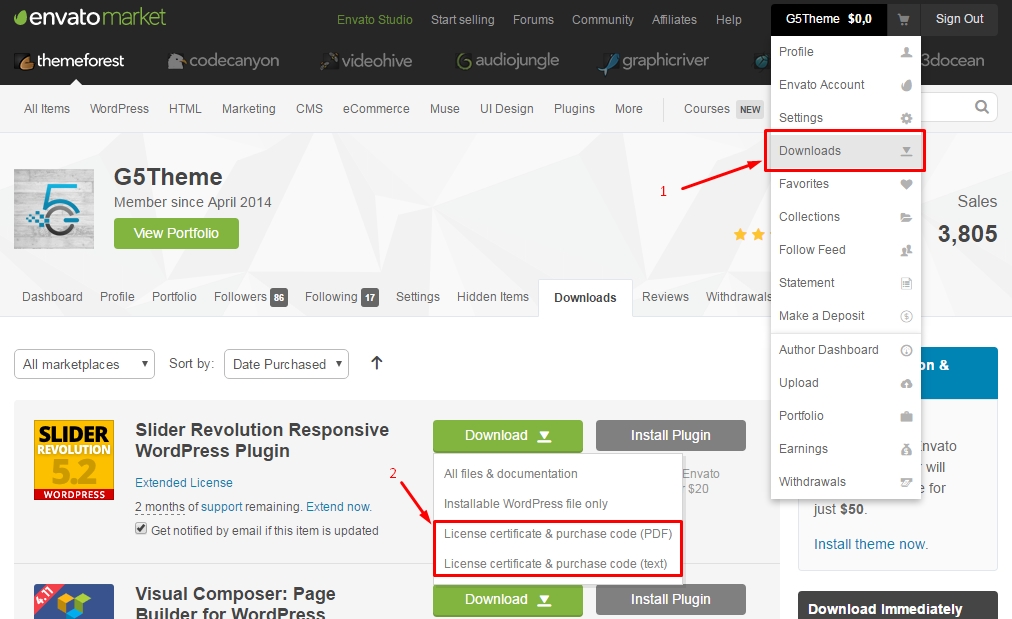
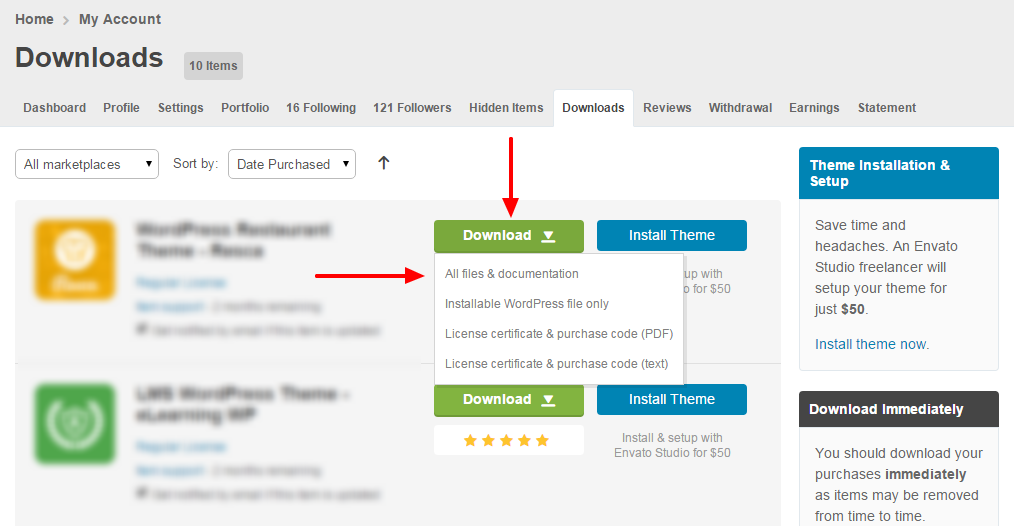
Step 1 – Login to your ThemeForest account, navigate to your ‘Downloads’ tab and locate your G5Theme purchase.
Step 2 – Click the ‘Download’ button and choose to either download the ‘Installable WordPress file only’, which is just the WordPress installable file or choose to download ‘All Files & Documentation’ which is the full G5Theme package.
Step 3 – After downloading the files, you need to decide if you want to upload the theme files via FTP or WordPress. For instructions on both methods, please continue reading below.
How To Update G5Theme Via FTP
Uploading the theme files via FTP requires you to delete your old theme folder entirely. This is to ensure that any deprecated theme files that could cause update issues are removed completely.
Step 1 – Log into your server using FTP and navigate to the [your_website]\wp-content\themes\[your_G5theme_folder].
Step 2 – Backup [your_G5theme_folder] by saving it to your computer, or simply delete it. Your content such as pages, options, images and posts will not be lost or erased by doing this. However, any customizations to the theme’s core files, such as PHP files will be lost unless you’re using a child theme.
Step 3 – Retrieve the theme files you’ve just downloaded. If you’ve downloaded the Installable WordPress file, then you only need to extract it once to get to the update version of [your_G5theme_folder].

Update-theme
Step 4 – Once extracted you can drag and drop the new G5Theme folder into [your_website]\wp-content\themes\ … location.
Step 5 – Don’t forget to update the G5Theme-Framework
How To Update G5Theme Via WordPress
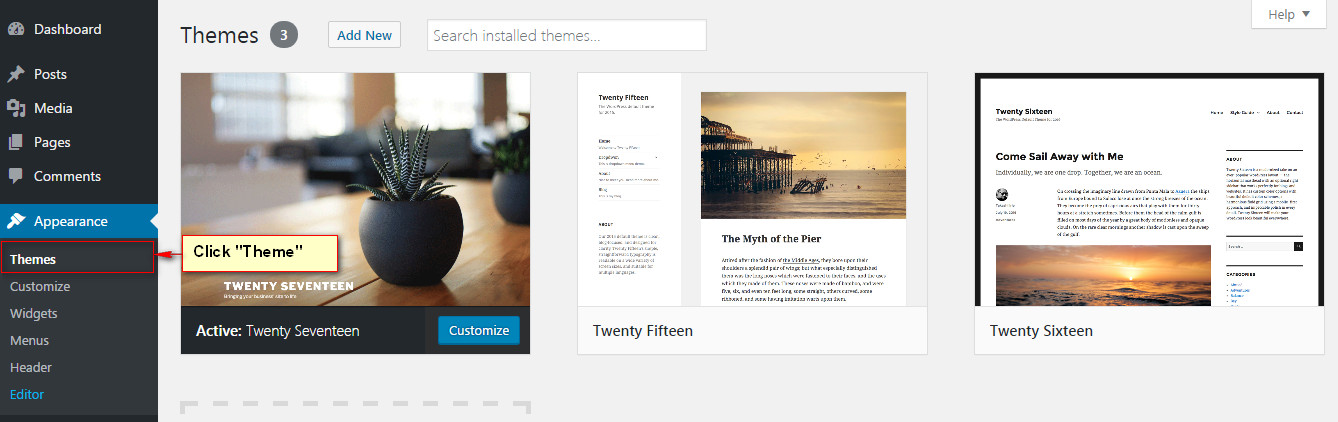
Step 1 – First you need to deactivate your current G5Theme located in the WordPress Dashboard > Appearance > Themes section of your Installation. To deactivate, simply switch to a different theme.
Step 2 – After deactivating you can go ahead and delete it. To do this, hover over the theme thumbnail then click ‘Theme Details’. In the bottom right corner of the window, click the ‘Delete’ button. Your content such as pages, options, images and posts will not be lost or erased by doing this. However, any customizations to the theme’s core files, such as PHP files will be lost unless you’re using a child theme.
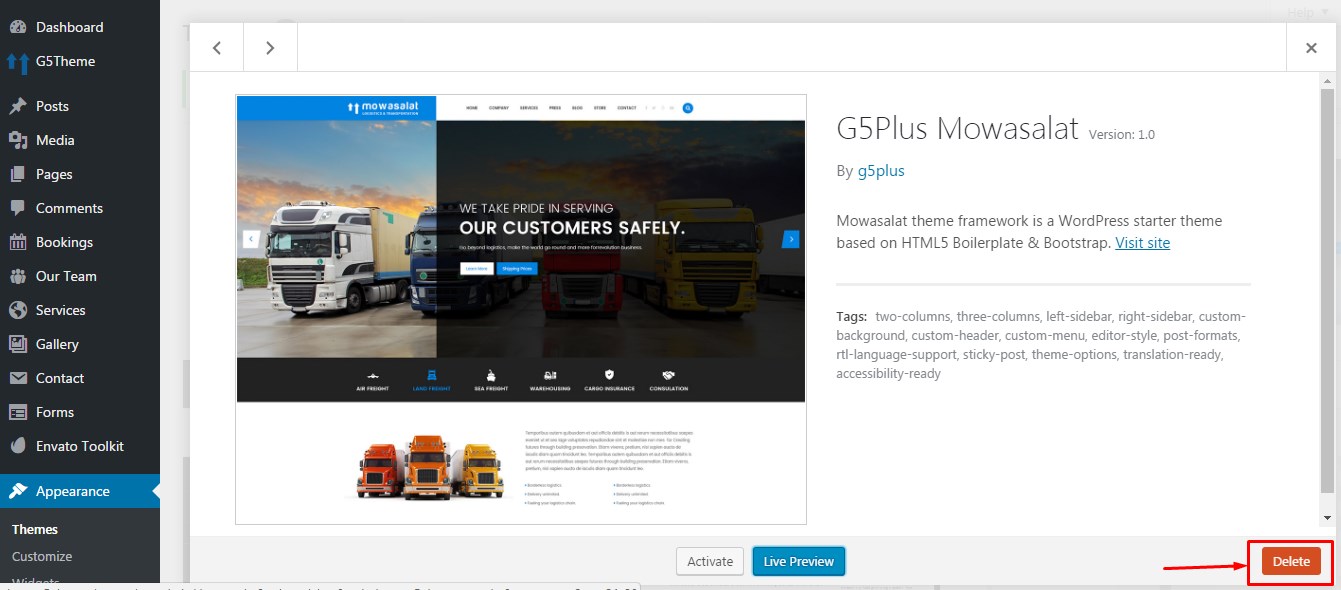
Delete theme
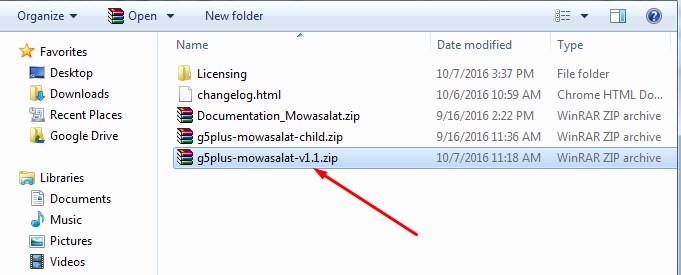
Step 3 – Retrieve the theme files you’ve just downloaded. If you’ve downloaded the installable WordPress file, then you do not need to extract it. If you’ve downloaded the Full Theme Package, you have to extract it once to access the secondary ‘g5plus-themename-ver1.1.zip’ file.
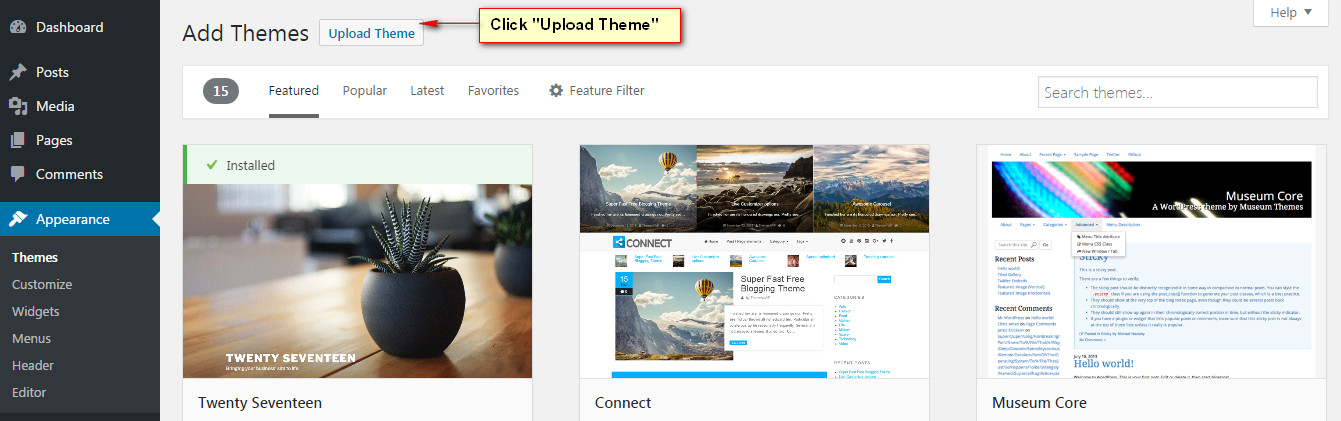
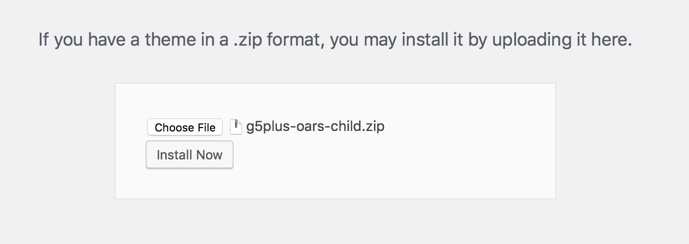
Step 4 – Then install by uploading the new version (.zip file).
Upload new version on Mowasalat update package
Once uploaded, click ‘Install Now’
Step 5 – When this has completed successfully, re-activate the theme by clicking the ‘Activate’ link.
Step 6 – Don’t forget to update the G5Theme-Framework
After Updating
After you are done updating your theme please also perform the following steps:
- Clear your Site & Browser Cache
Whenever you update ANY plugin, theme or WordPress you must clear your browser and site cache to help avoid any potential cache related bugs.
- Updating Visual Composer
AFTER you update your theme please make sure to update your visual composer as well following the guide for updating the theme’s recommended plugins. If you update the theme and not the Visual Composer you may run into issues.
Update Theme Compatible with Woocommerce 3.0+
Note: If you’re using a ecommerce theme supported WooCommerce from G5Theme (such as ORSON, HANDMADE, ARVO…), you need to do as follow to update the theme version that compatible with Woocommerce 3.0+
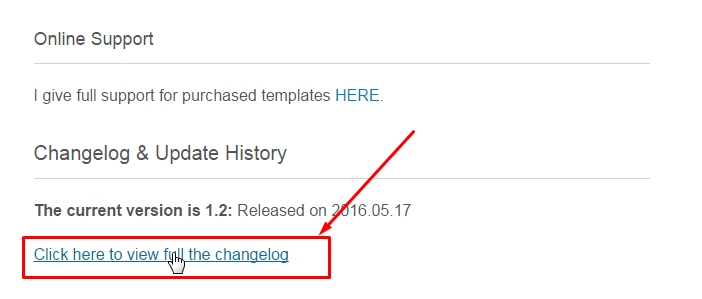
WooCommerce 3.0+ is a major update, and we alway try our best to resolve compatible problem in the theme update shortly. It is important that you make database backups and ensure theme version and extensions are 3.0 compatible (Check carefully our change logs, ex on Zorka: http://themes.g5plus.net/zorka/changelog.html), then delete the old theme version file before upgrading.
If you’ve used any WooCommerce related plugins please consult with respective plugin’s author. After update theme, if you have any troubleshooting with Woocommerce, it might be a plugin or other conflict (custom code etc). We definitely recommend getting in touch with us with screenshots to get us to figure out what is causing the issues ASAP. We’ll be glad to get you sorted.
Troubleshooting (related topics in customers support)
Menus can’t update
Visual composer update
Demo Data Not Loading
After updation product pages are not working properly
If you’re still having trouble upgrading your theme after reading this post, let us help! G5Theme awesome support team can help you with any issue.