Premium WordPress themes developed by G5Theme don’t only come with default built-in Widgets but also extra Widgets that help you build fully function websites.
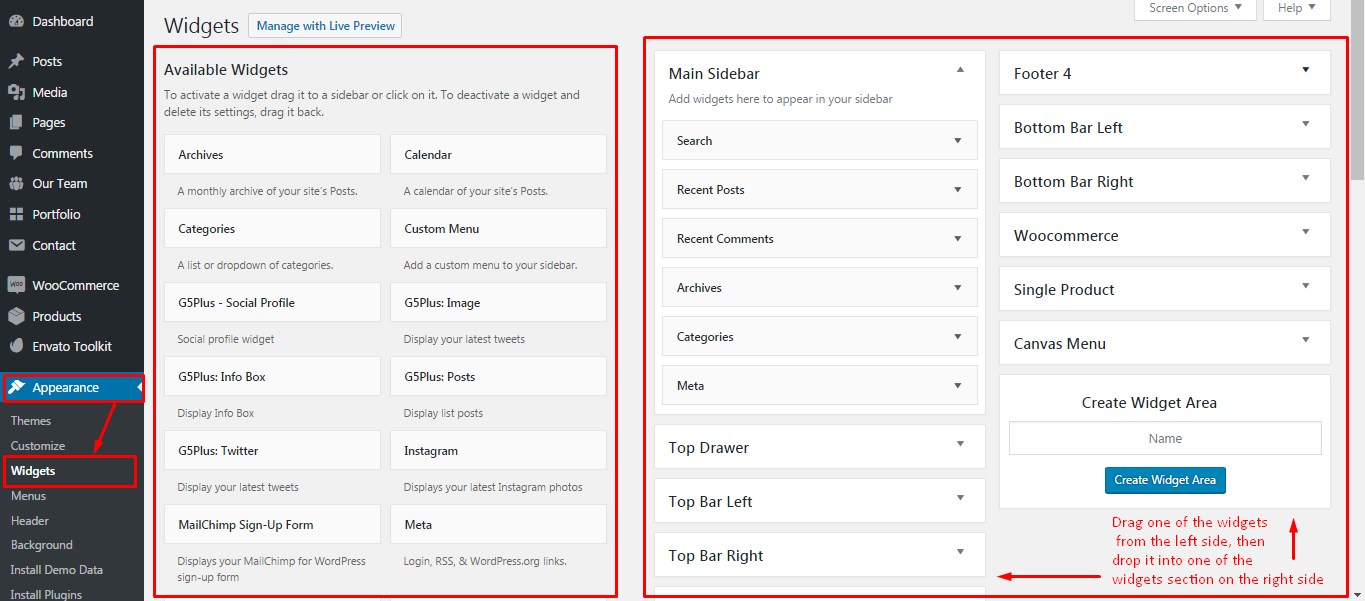
In order to use these widgets, from WP dashboard, navigate to Appearance → Widgets.
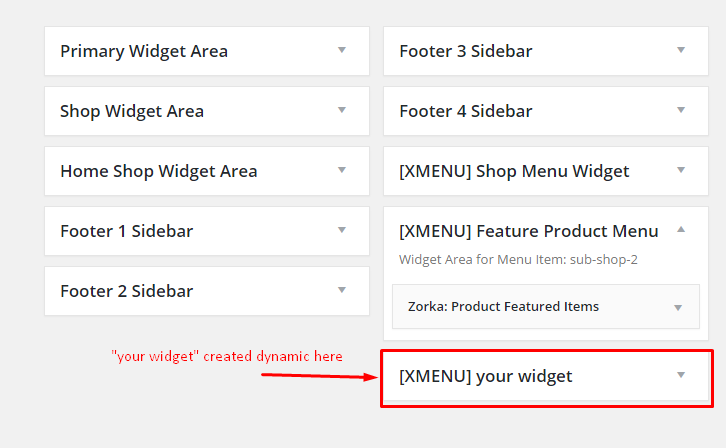
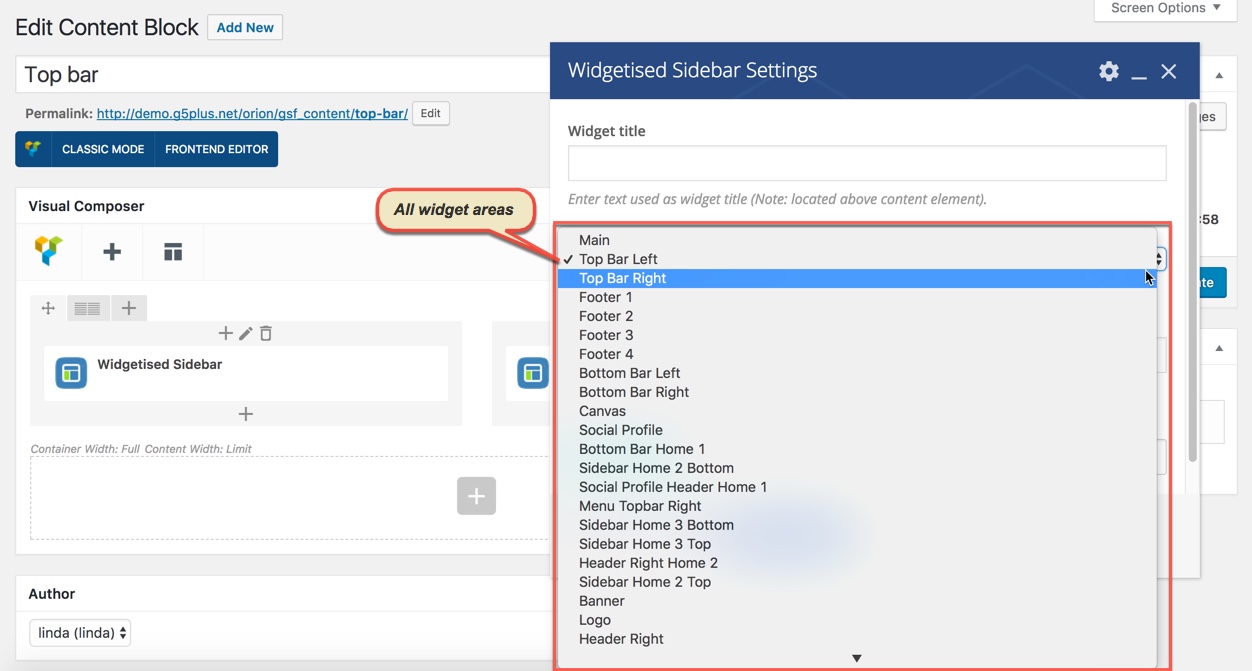
The screenshot below in an example list of pre-defined sidebars as well as their locations on a page, so that you will find it easier when pulling out widgets to set up your site.
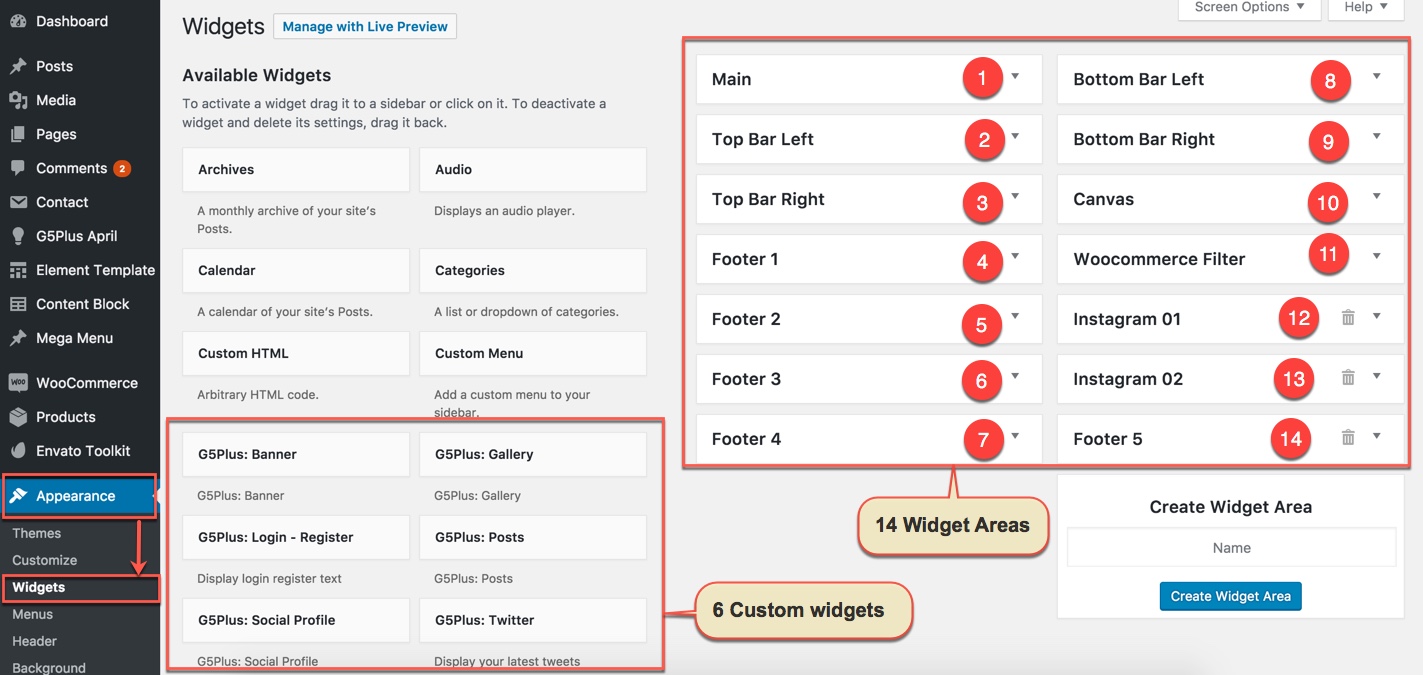
All custom Widgets available on April theme
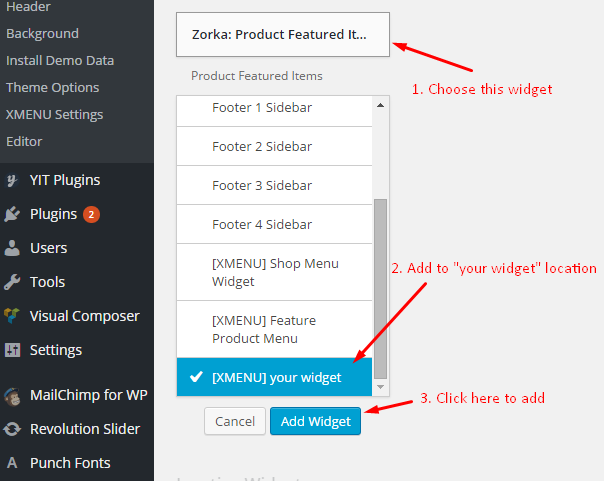
You can add widgets to widget areas simply by hover the Widget then drag-drop to widget area as your liking:
Drag-drop a Widget to widget area
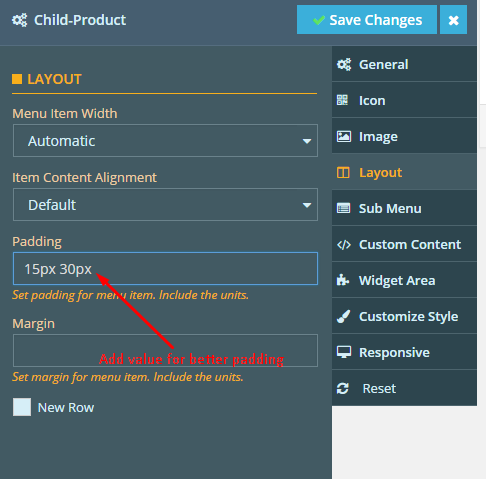
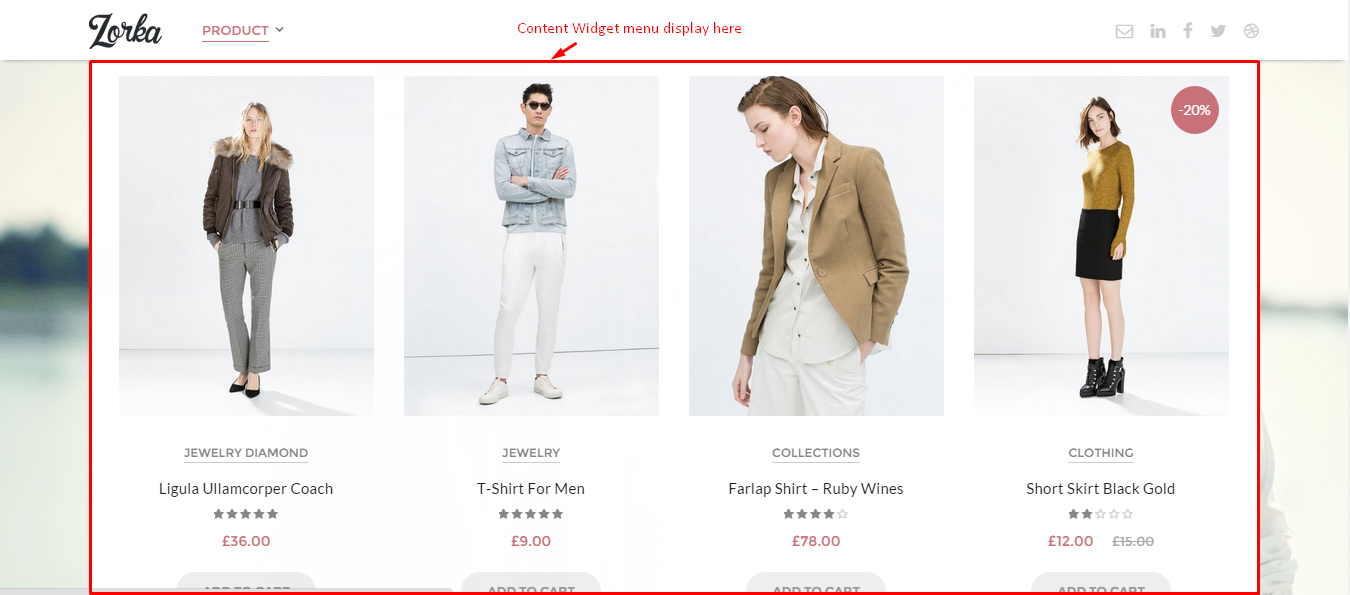
Widgetised Sidebar element in Visual Composer
Widgetised Sidebar element in Visual Composer help you add any widget areas to display in the page/post
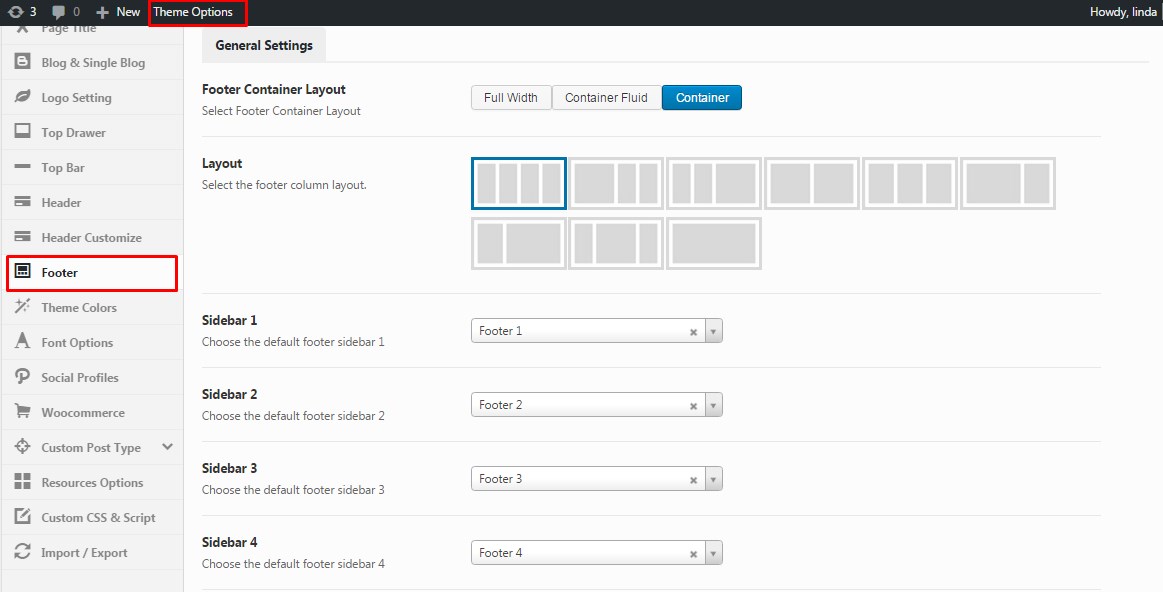
In these theme: ZORKA, DARNA, GROVE, MEGATRON, HANDMADE, ACADEMIA, PITHREE, ORSON, RICA, MOWASALAT, ORION, ARVO, MoveCo, BEYOT, ORGANIZ you can setup Widgets to Top Bar, Top Drawer or Footer area
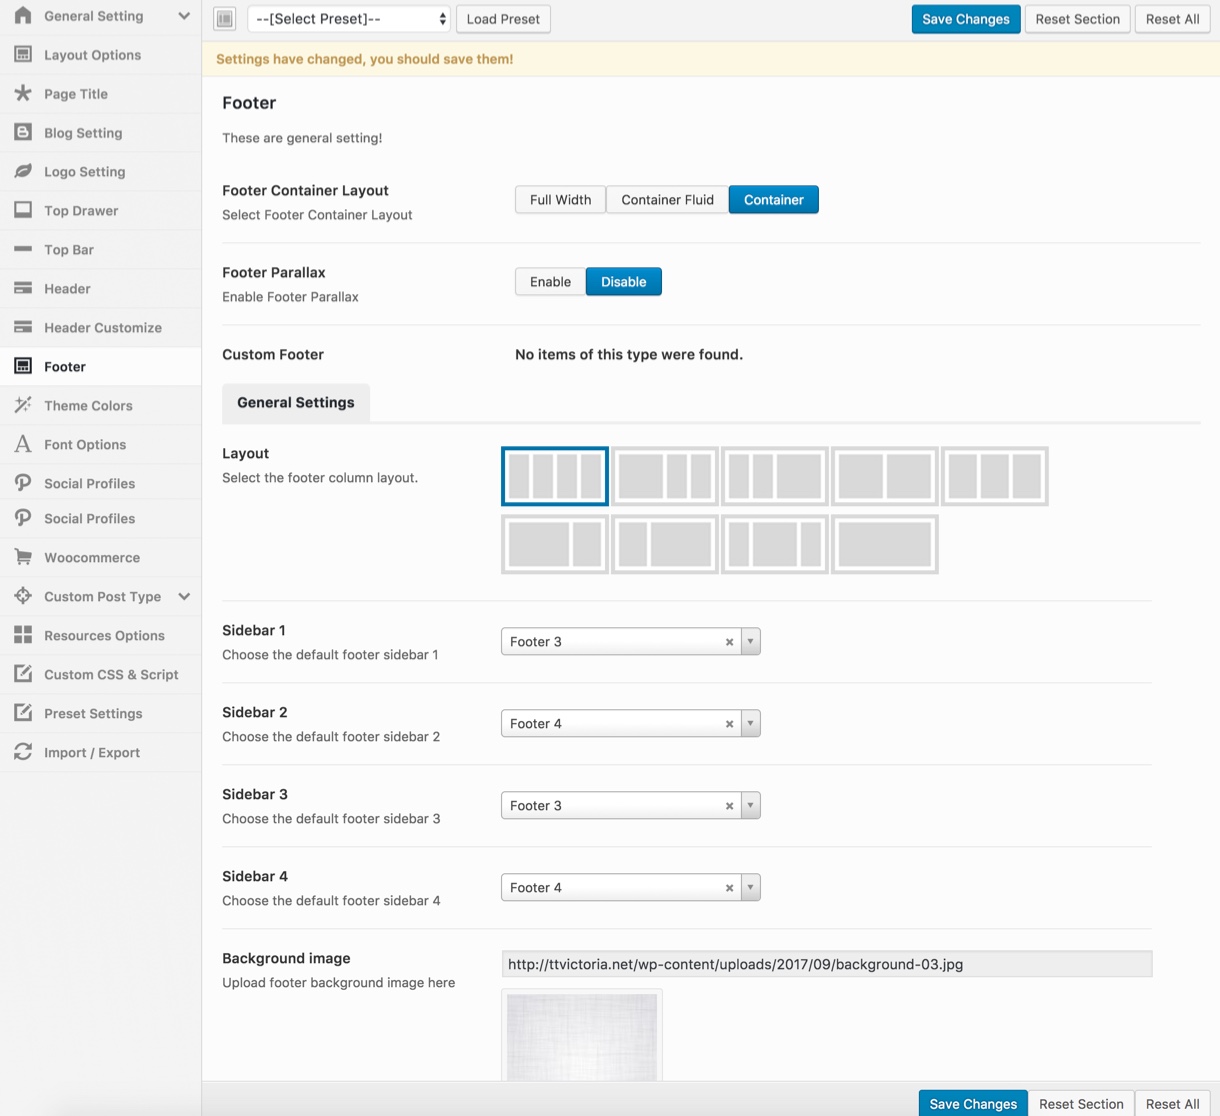
Choose the default Footer sidebar

Choose the default Top Bar sidebar
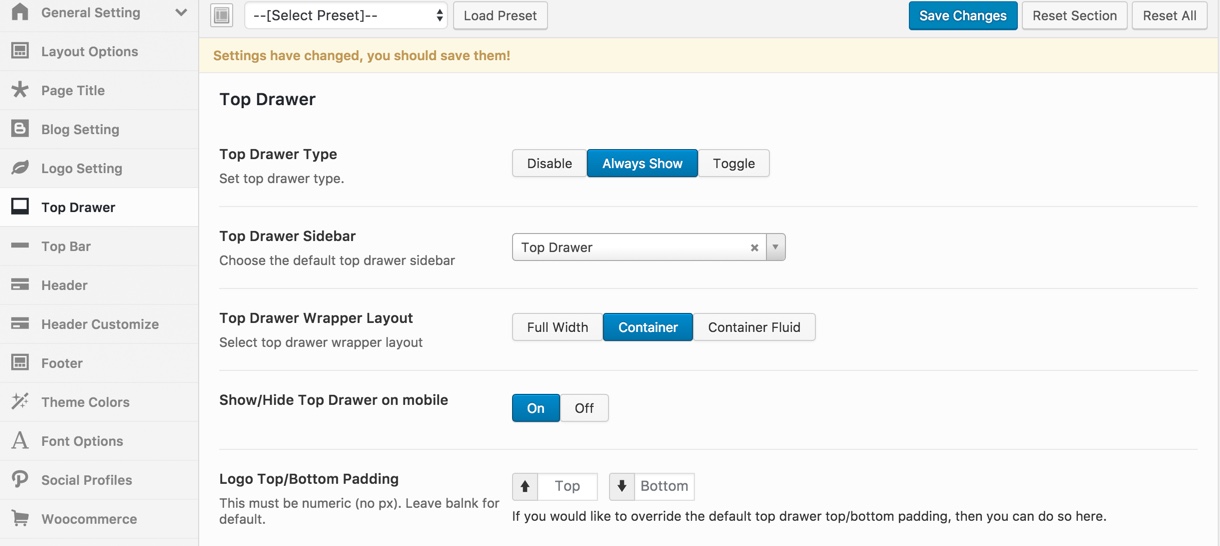
Choose the default Top Drawer sidebar
Note: Recently, in our lastest themes you can use Widgetised Sidebar element in Visual Composer to build a Content Block then use this Content Block to display as Top Bar, Top Drawer, Bottom Bar, Footer in Theme Options (or Preset)